


Let’s admit it, the days with gel manicure is almost over. You must have heard that dip nails are on the rise and becoming more popular day by day. And why wouldn’t it be?
This manicure offers you a hybrid combo of gel and fake nails. Also, the dip nails are odorless, thin, and more natural-looking. The best part about this polish is you do not require any special tool to apply it.
If you are looking for the tutorials on how to do dip nails, you have come to the right place. In this article, you will get the secret tips and tricks of doing dip nails at home.

Dip powder nails kit
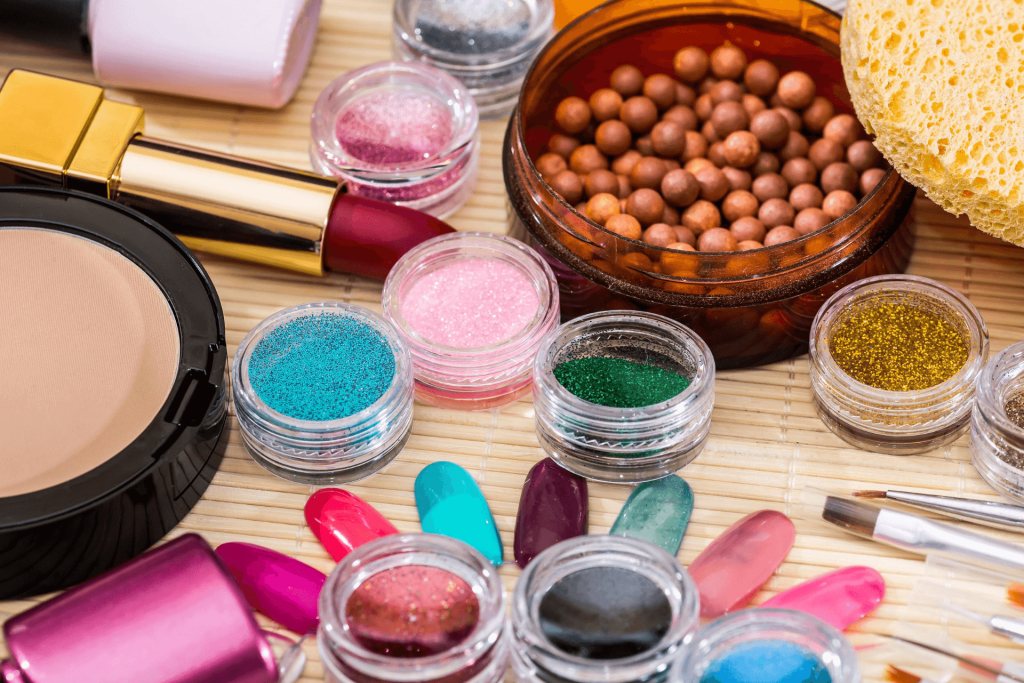
The main advantage of dips nails is you do not need special equipment like a UV lamp. All the dip nail kits are available in the local shops and extremely affordable. For your convenience, here is a list of supplies you will need to do dip nails:
✔ Dip powders (Choose your favorite color)
✔ Liquid
✔ Basecoat
✔ Topcoat
✔ Activator
✔ Nail buffer
✔ Nail filer
✔ Nail clippers
These are the common supplies for any dip powder nails. Add or remove any kits according to the method you are following.
How to do dip nails at home
In this section, I will illustrate a step by step discussion on how to do dip nails. Follow the guidelines properly if you want salon-like dip nails at home.
✔ I always suggest starting any polish with blank nails. It means removing any leftovers you have on your nails from the previous manicure. Wiping off polish is very easy if you use non-acetone nail polish remover and tint free pads.
When the nail polish is totally wiped off, work on your cuticles. Nudge them slightly back with a wooden or metal cuticle pusher. Then trim any excess cuticles with a scraper. This allows your nails to grow, and the manicure lasts longer.
✔ The next thing you have to do is to buff the nail surfaces. For this task, you can use an electronic buffer, natural nail stone, 180 grit buffing block, or a nail filer. Any of these tools will work. Experts suggest smoothing the nails manually with small movements.
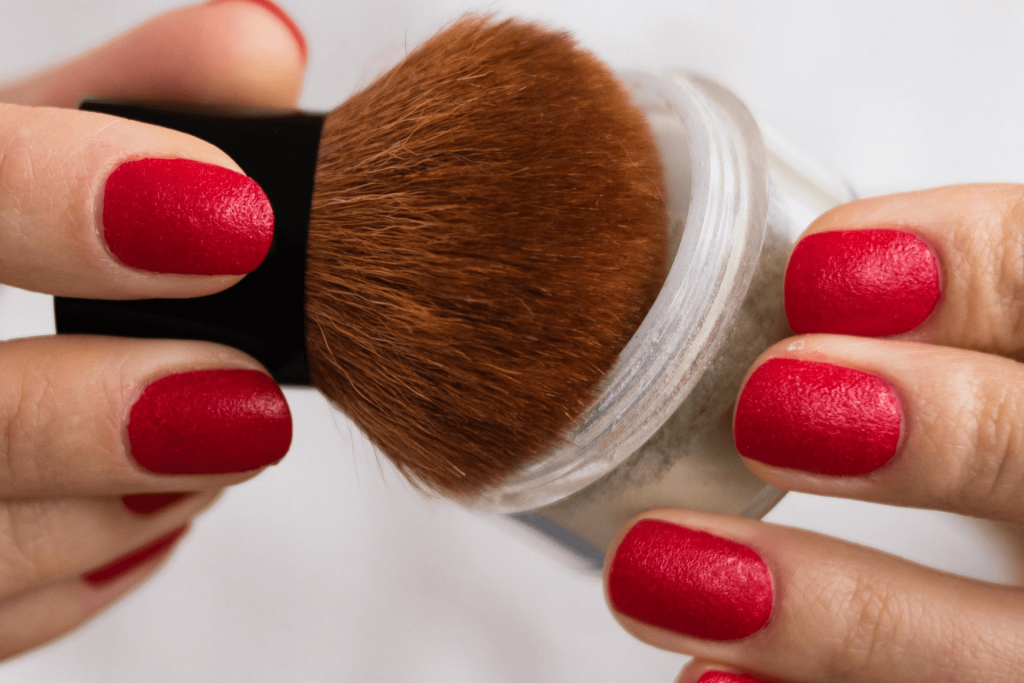
After finishing the buffing, remove the dust with a makeup powder brush or nail brush. Do not harm your cuticles while buffing your nails.
✔ Now focus on the problematic areas on your fingernails. These portions can decrease the beauty of the dip nails. So, examine the side and top of your nails for any damage or uneven edges. If you find any, scrape them off with a 100 or 180 grit nail filer.
Many prefer doing dip nails designs and want to add extra length to the nails. In that case, cut down your nails at your desired length and smoothen the edges with a filer.
✔ If you want a professional manicure at home, then do not skip this part. Sanitizing your nails before applying nail polish is important. Let’s be honest, nobody wants to seal the germs or bacteria with the coatings.
Take a cotton ball or tint free pad and dampen it with alcohol or nail sanitizer. Rub the nail surface with that cotton. This will both clean and dehydrate the nails. Dip powder nails can stick to the rough surfaces better.
✔ This step is for those who want dip nails with tips.
Finding the right-sized tips is very important. Make sure the height of the tip is one-third of your nail beds. However, the width of each tip must cover your whole nail.
To stick the tips with nails, you can use either resin or nail glue. Apply a small amount of glue at the end of the fake nail. Hold it firmly with the top of your nails for 15 to 20 seconds.
Place the fake nails in such a way that they do not overlap with your skin. Also, make sure you do not get the resin or glue on your skin. If the tips are over or undersized, file them to adjust with your nails.
Finally, buff or trim the edge and top of the tips to remove the shine.
✔ Now it is time to put a basecoat on your nails. To get a better result, start with small strokes and later spread it out. You can also brush resin onto your fingernails to make the polish more efficient.
Make the layer as thin and neat as possible. There should be no space left on the coating. A smooth basecoat allows a smooth powder application.
✔ You have to let the basecoat dry for one minute and then move to the next step.
Take a container of clear nail powder and shake it well. You can use a stick to mix the powder instead of shaking. Now dip your nail into the powder for five seconds and roll it gently.
Remove your nails from the container. Tap your finger with the pot so that the excess powder can fall off. You can use the brush as an alternative once the powder gets dry. However, avoid applying colored powder at the beginning.
✔ If you want to add color powder, now is the time. But before that, apply a thin layer of resin. Like the previous step, wait for 5 seconds after dipping your nails into the powder.
In case you want a thicker dip powder nails, repeat the whole process once again.
✔ To activate the powder, apply the activator in strokes. Leave it there for five seconds and then wear a second coat to seal the layer.
Now prepare the nails for the final step by filing edges. Apply a top coat and dry it for two minutes.
✔ Finally, hydrate your nails by rubbing cuticle or coconut oil. Once the nails are dry, wash them properly with warm water.
Related : How To Dry Makeup Brushes Fast – All The Tricks You Should Know
Dip nails are soon going to be the next top manicure. I hope this tutorial on how to do dip nails will help you practice this nail treatment at home.


