


Recently, the gel nails have become quite popular due to the quick drying time and durability. Even though the nail polish looks fabulous on nails, some experts suggest avoiding gel manicure. It is because the UV light that has been used to cure gel polish can be harmful to health.
Fortunately, there are alternative ways to do gel nails. If you are looking for those methods, then you have come to the right place. In this article, you will get the tutorials on how to do gel nails at home the safest way possible.
Know About Gel Nail Polish
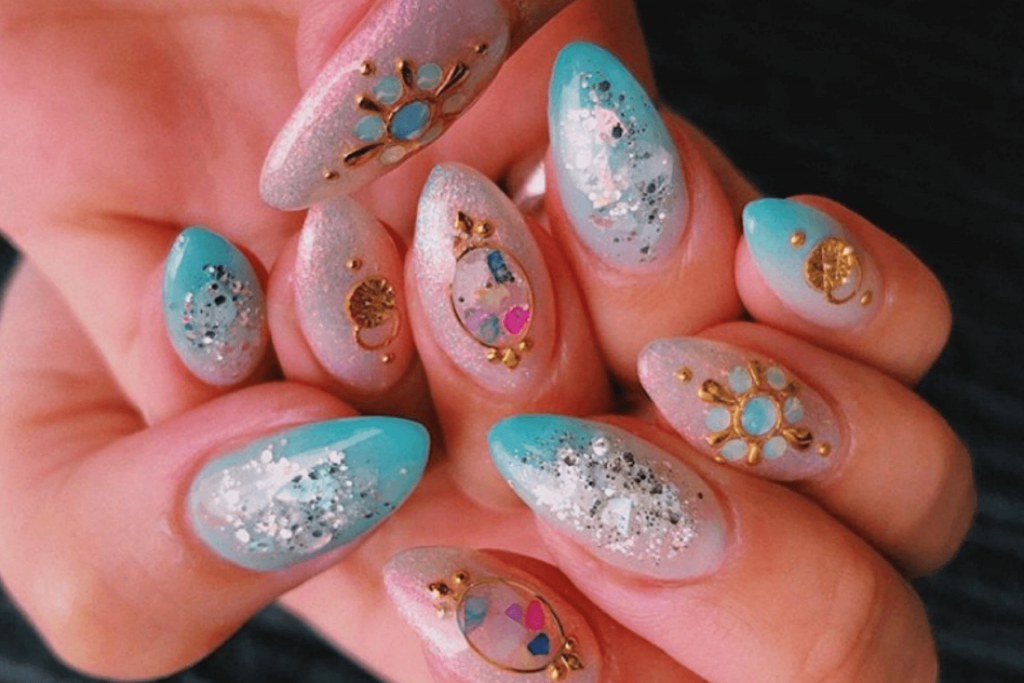
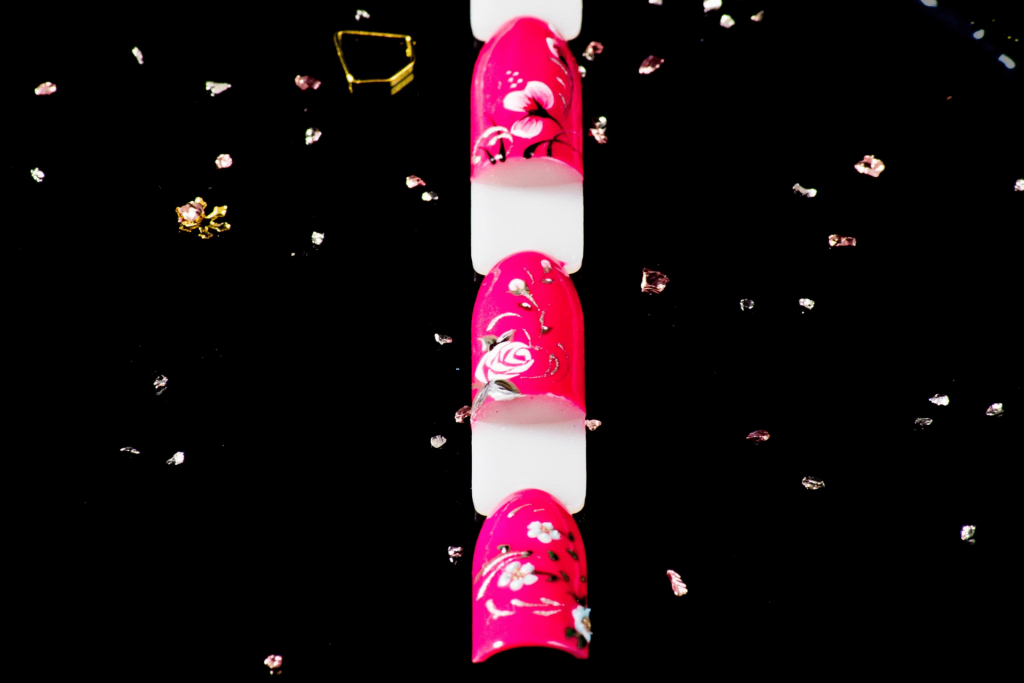
Before getting into the tutorials on how to do gel nails at home, let’s learn what it is. Basically, this manicure is soaked off gel, which offers a similar look of nail polish. This polish comes in various shades and lasts longer than regular manicures.
Moreover, its chip-resistant quality has been appreciated by all beauty enthusiasts. The nail paint is popular worldwide for its natural look, durability, and quick-drying quality.
The best way to cure gel nails is with UV. By using this technique, you will need less time to dry your nails. But those who can not afford a UV or think this is harmful can use alternative methods. And the good thing is, those techniques actually work.
Related : How to Do Acrylic Nails At Home: A Step by Step Guide
Gel Nail at Home Supplies
You will require a few things to do your gel nails properly. Such as:
🔸 Nail cutter
🔸 Cuticle remover
🔸 Nail filer
🔸 Buffer block
🔸 Aluminum foil
🔸 Cotton pad
🔸 100% acetone
🔸 Basecoat
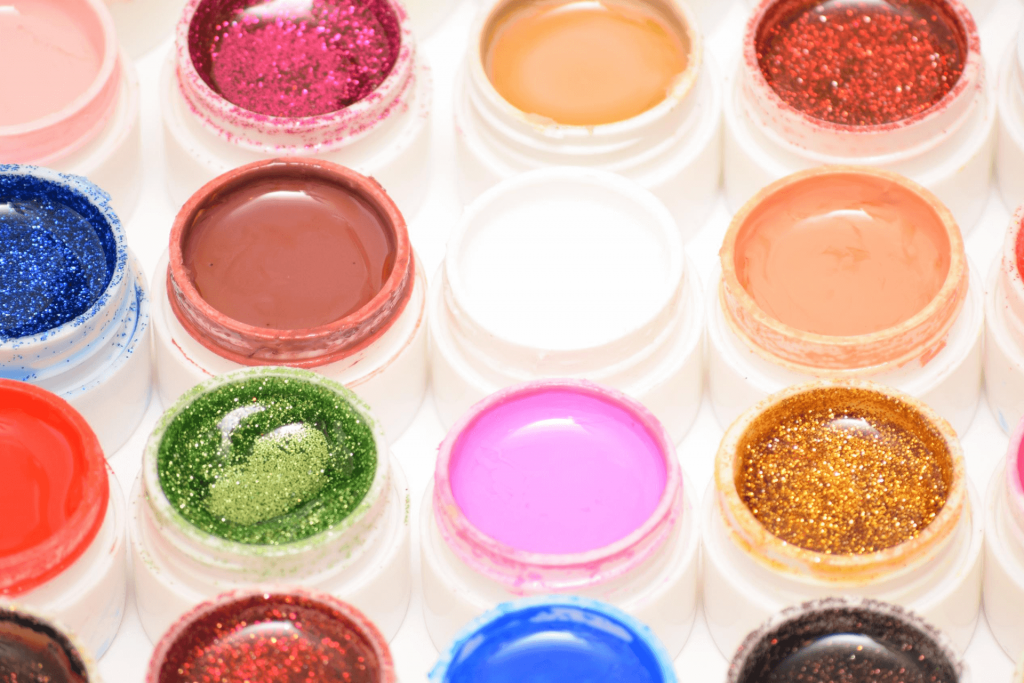
🔸 Colour gel nail polish
🔸 Topcoat
As you will use a non UV source, you may need to add or remove some kits according to the method.
How To Do Gel Nails at Home Without UV
Do Gel Nails Using A LED Lamp
If you want to cure your gel nails with a LED lamp, you need to take safety protections first. To do that, you can either apply a thick layer of sunscreen lotion on your hands or wear fingerless gloves. Even though the LED lamps are less dangerous than the UV, they emit harmful rays to some extent. Hence, you must take precautions to ensure that your skin will not be damaged.
When it comes to protection gloves, you have two options. Such as:
🔸 Buy professional fingerless gloves. Those are made out of a polymer that contains titanium oxide, which is the common ingredient of any sunscreen.
🔸 You can also buy regular fingerless gloves. These gloves offer protection from the harmful rays to a certain degree.
Now follow the steps given below:
Step 1:
If you want your gel nails to look natural and gorgeous, start with blank nails. So, first of all, remove any nail paints from an earlier manicure. Then take the nail clipper and cut the nails at your desired length.
Give the nails your preferred shape with a buffer block. File your fingertips with a nail filer. Use a cuticle remover to base around your cuticles and remove the remaining debris with an acetone soaked cotton ball.
Step 2:
Apply the first layer, or so they call the basecoat of your gel nails. Make the layer as thin as possible. If the base gets thicker by any chance, it will take a long time to cure. However, paint the gel base polish evenly and thoroughly on your nails.
Step 3:
To cure your gel paints, you will need a LED nail lamp. After applying the base gel paint, place all your fingers in the hand slot of the lamp. Then set the timer on 45 seconds, turn on the light, and wait. You have to hold the position until the light gets shut off by itself.
No matter which LED nail lamp brand you are using, read the instructions first. If your lamp does not have an automatic timing system, use a smartphone or clock to count 45 seconds.
Step 4:
Once the base coat is cured, you can paint your nails with the color gel polish. You have to make this layer thinner too. Apply the coating in such a manner that it does not clump.
However, make sure you do not get the gel polish on your cuticle. This can cause polish peeling and also impede the curing process.
Step 5:
Once again, you have to place your fingers in the hand slot of the LED. Set the timer on 45 seconds and turn on the lamp. Wait until the timer goes off. If your lamp does not have a timer, keep your fingers under the light until the polish is cured.

Step 6:
If you want to add more layers to your gel nails, then this step is for you. If not, then skip this one.
You add as many layers or colors as you like. While applying each layer, try to keep that thin. Also, cure the coat under the LED nail lamp for 45 seconds.
Step 7:
No matter how many layers of gel polish you have applied, finish the manicure with a top coating. This coat is generally used to seal the polish. After applying the top coat, dry your nails under the LED for 45 seconds.
Step 8:
Congratulation! You have successfully finished gel nails without UV light. Now take an acetone soaked cotton ball and wipe off each nail to remove any bumpy paint.
Do gel nails using alternative methods
These methods are similar to the ones I have discussed just now. The only change will be in the curing process.
🔸 Apply non UV gel nail polish on each of your nails. This nail paint does not need a LED or UV lamp to get cured. Instead, the polish cure on its own without any light.
🔸 After applying gel nail polish, you can seal the paint using a quick-drying nail spray. Many people use canola oil cooking spray for the same purpose too.
Final words
Doing gel paints for the first time will be tough. But eventually, you will master the process. I hope this tutorial on how to do gel nails at home was helpful to you.


